Today, I installed a 2-channel dashcam in my car that I had been putting off due to weather and annoyance.
Prepare :
1. Toyota Corolla Touring Sport released after 2023 (hatchback model only)
(This is because my car is a hatchback model and installing the rearview camera is different for sedan models than hatchbacks.)

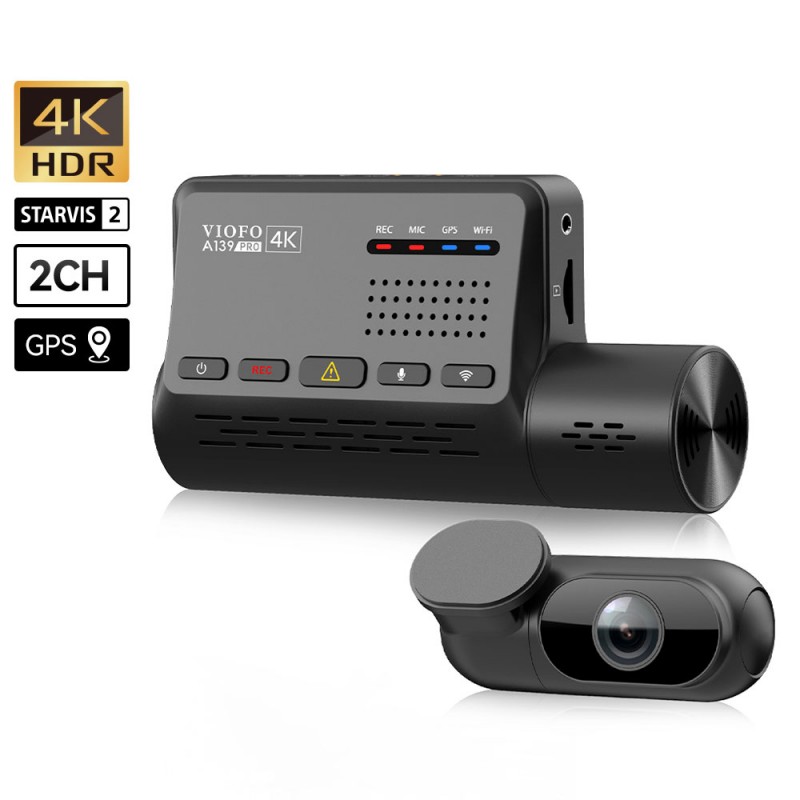
2. 2-channel Viofo dashcam
For Viofo products, there are several, but I bought the A139 Pro model, which supports 4K.
It supports up to three channels, but I chose the 2-channel model because I don't need to shoot indoors and I've heard that the image quality in the front is compromised if you choose 3-channels.
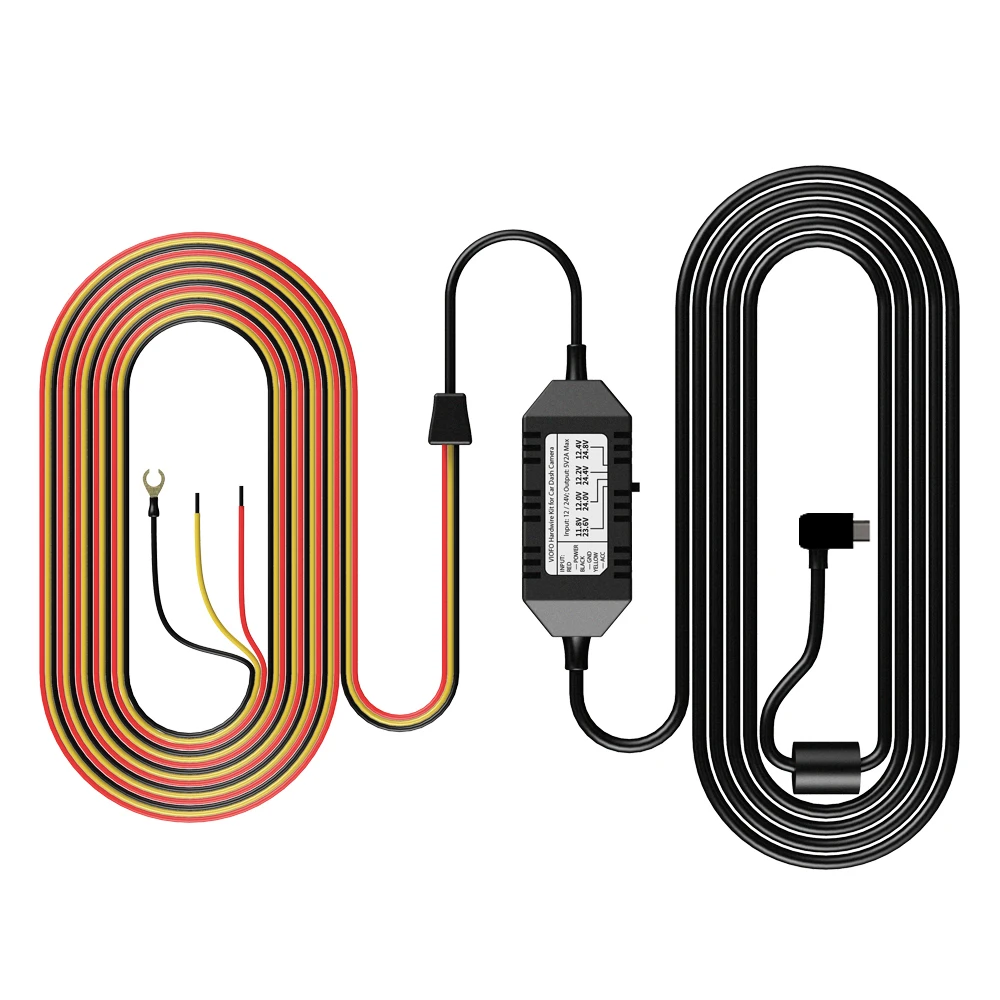
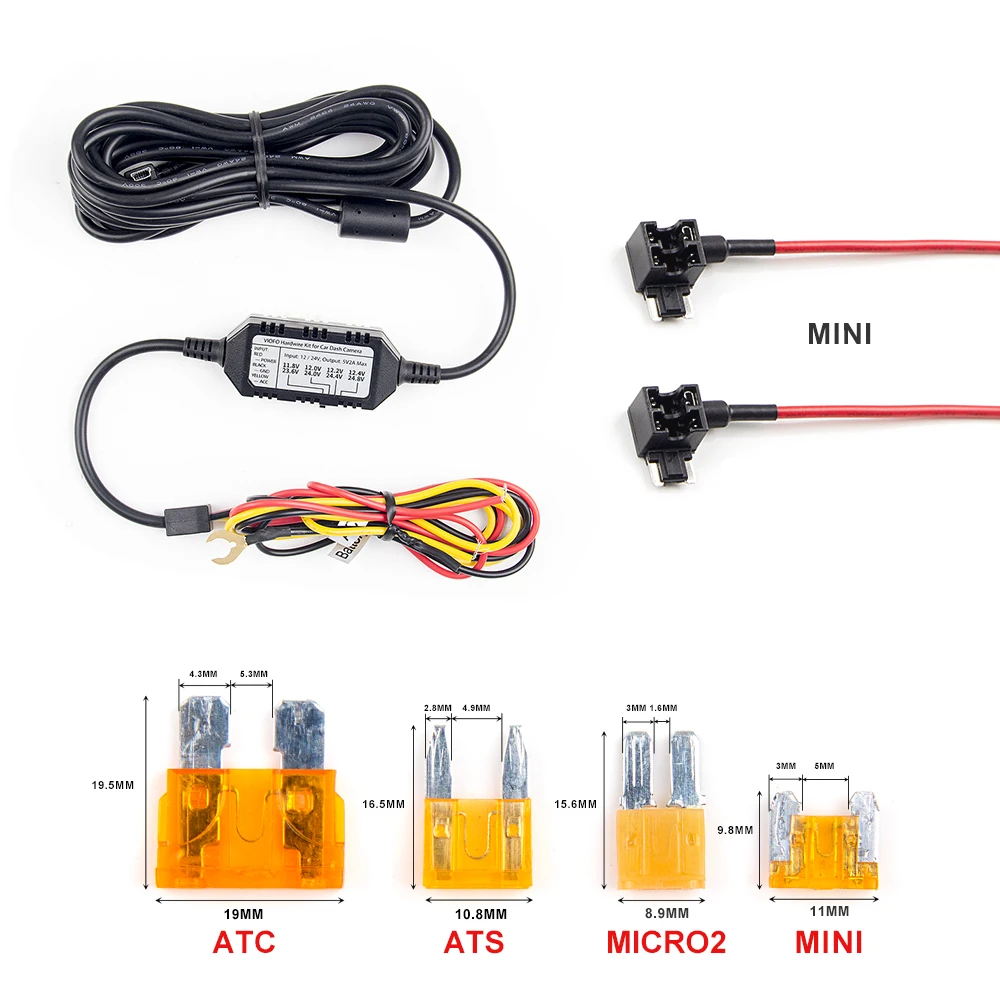
2-1. VIOFO HK3-C Type-C Hardwire Kit for A139/A139 PRO
The Toyota Corolla Touring Sports released after 2023 has no 12V cigarette jack in the driver's seat or front.

The cigarette jack is located in the center console.
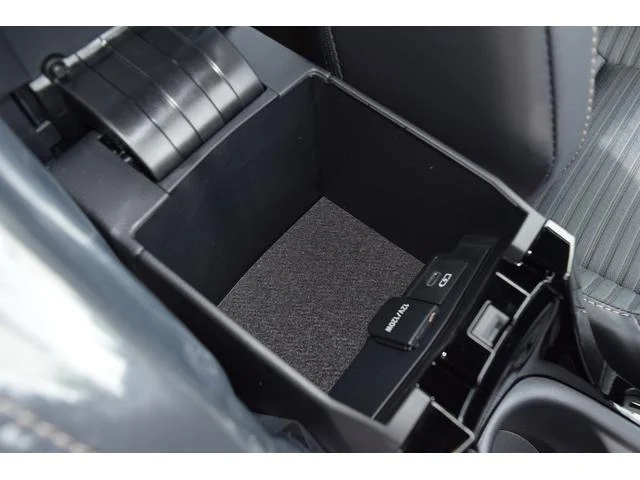
So realistically, getting power from the cigarette lighter to power the dashcam is a bad option (not impossible, but very difficult to organize the wires and requires longer wires).
In the end, the only way to power it is from the indoor fuse box.
So what you need is an extension wire that allows you to connect from the interior fuse box to the dashcam.
All normal vehicles, except trucks, use 12V DC. (except for the Tesla Cyber Truck)
The power connected to the fuse box is also 12V DC. The problem is that Viofo uniquely uses a 5V power source instead of 12V, so this wire contains a circuit to step down the 12V to 5V.
Can you see the control unit in the center of the photo above?
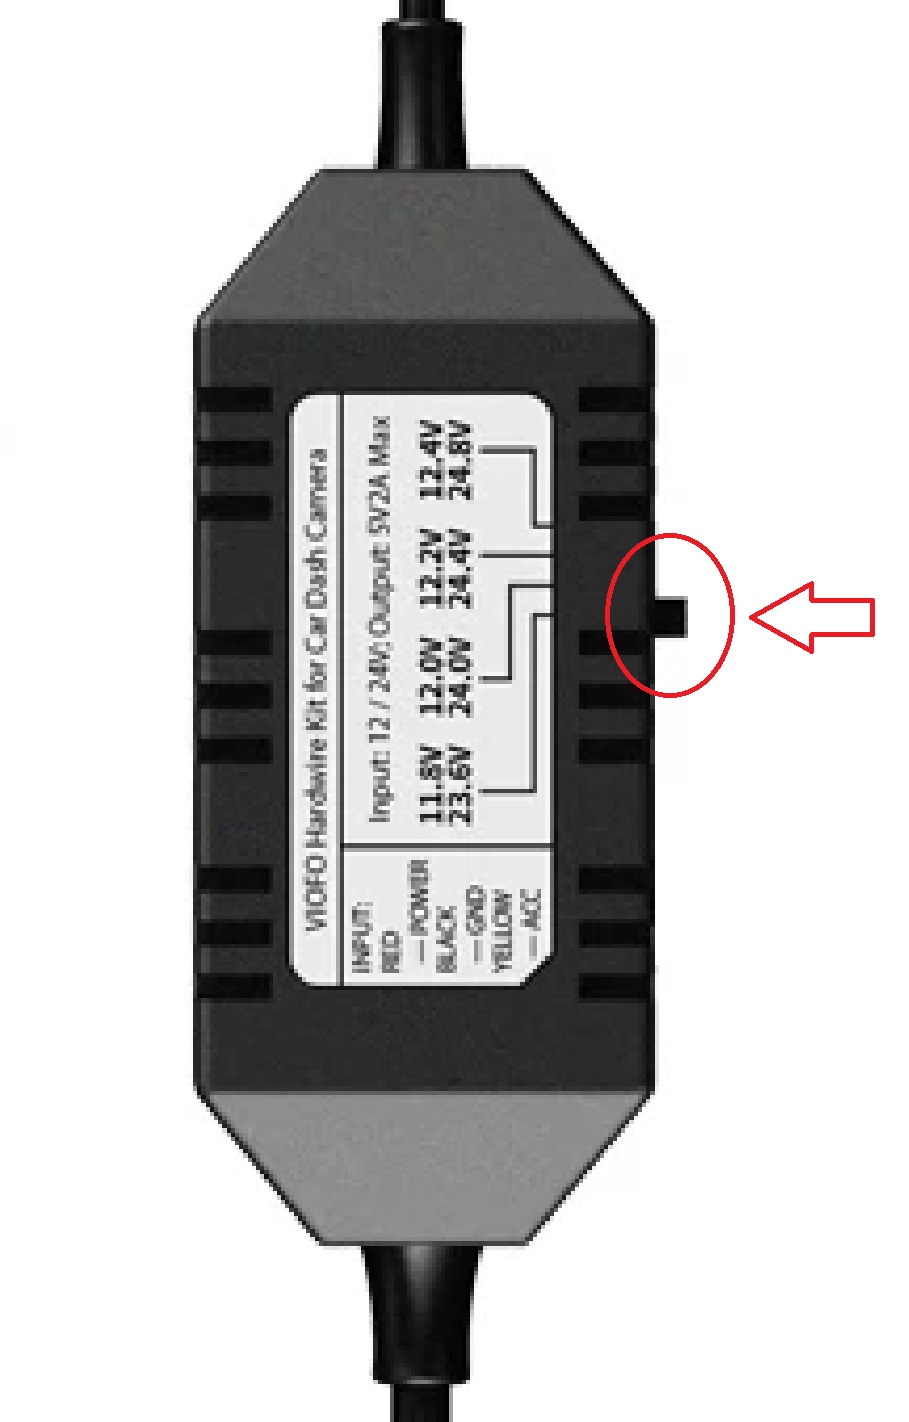
I chose 12.4V because I will only be using the camera recording feature while driving.
The reason for this is that I don't want the battery to operate below 12.4V. Normally, when the engine is started, the battery will maintain a higher voltage than 12.4V.
If you want to record all the time while parked, you can adjust this switch accordingly. However, this product is not optimized for recording while parked and is very vulnerable to battery discharge. (I would never recommend using the recording feature while parked.)
2-2. VIOFO 4PCS*2 Packs Circuit Fuse Tap with ATO, Mini
You don't need to be a Viofo user to purchase this product, it's readily available on Amazon.
A word of caution though The Toyota Corolla Touring Sport's internal fuse box all use mini-sized fuses.
See my earlier article on this.
https://hellobenjamin.tistory.com/664
Toyota Corolla Touring Sports 2023 Interior Fuse Box map
This is the fuse map for the interior fuse box of Toyota Corolla Touring Sports sold in EU countries. For reference, the vehicle is a 2023 model, and 1.8 hybrid system and engine performance have changed from the 2022 model, so please note that it may be d
hellobenjamin.tistory.com
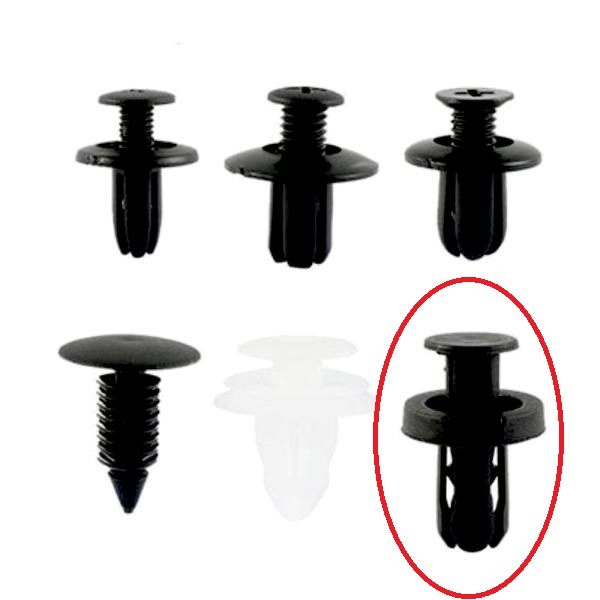
I recommend buying a fuse tap without fail.
It is very difficult to connect a mini fuse without a fuse tap.
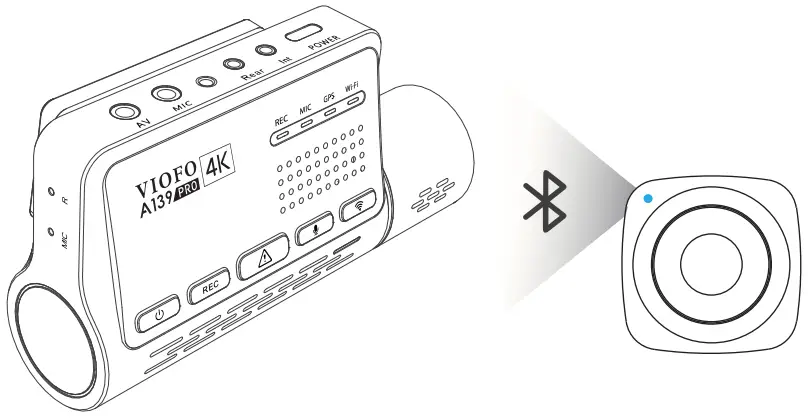
2-3. VIOFO Bluetooth Remote Control For All A129/A139/A139
This is a wireless remote control device that allows you to manually record events on your Viofo A139 Pro via Bluetooth connection.
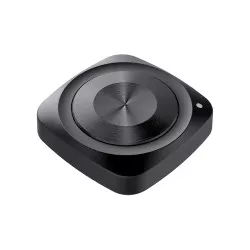
I purchased this Bluetooth remote control.
This is a good option.
2-4. 1 coat hanger made of thick wire (Supplies)

Now you have everything ready to go.
1. The first thing we'll do is connect power from the indoor fusebox.
I've already described how to connect power to the indoor fuse box in my previous article, so I won't go over that again here.
https://hellobenjamin.tistory.com/664
Toyota Corolla Touring Sports 2023 Interior Fuse Box map
This is the fuse map for the interior fuse box of Toyota Corolla Touring Sports sold in EU countries. For reference, the vehicle is a 2023 model, and 1.8 hybrid system and engine performance have changed from the 2022 model, so please note that it may be d
hellobenjamin.tistory.com
Important: After connecting all the wires from the indoor fuse box, you must connect with the front camera (main unit) to make sure there is no problem with the power.
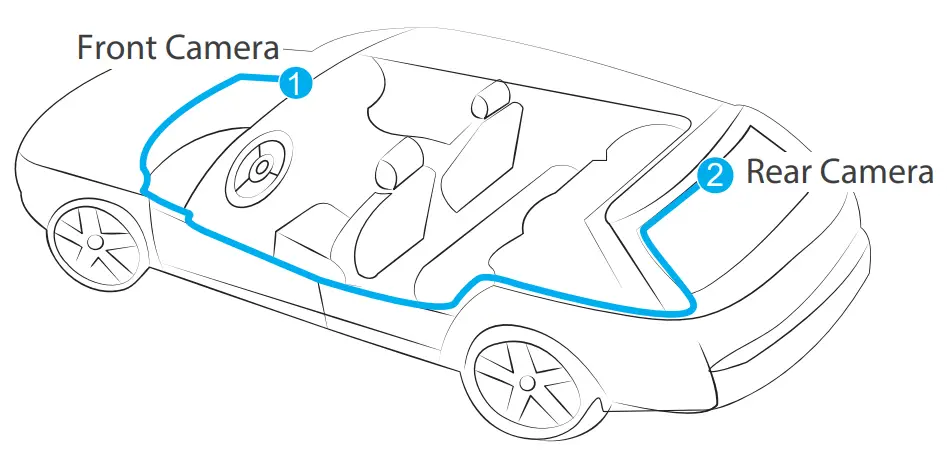
2. Connecting the rear camera to the front camera (main unit)
In fact, the hardest part is connecting the rear camera to the front camera (the main unit) and connecting the wires from the fuse box to the main unit.
Don't glue the front camera (the main unit) to the front glass yet.
2-1. Remove the fixed part
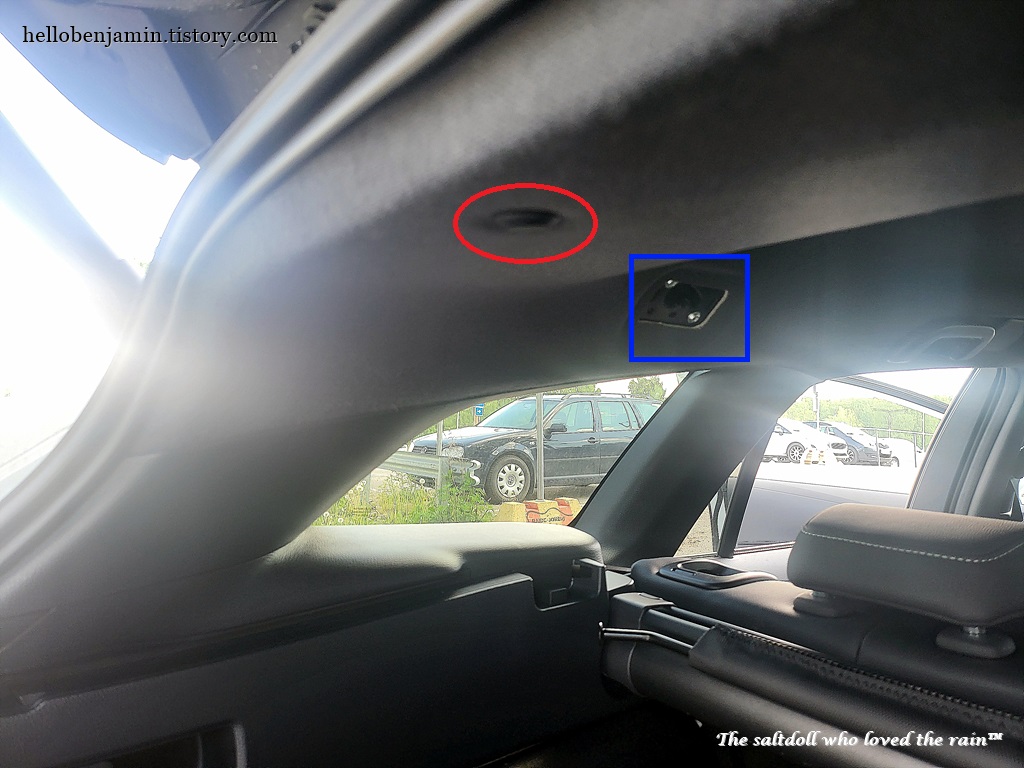
It has three parts, circled in red. If you look closely at this part, you'll see a small groove that you can gently pull out with a small screwdriver.
It looks like this (circled in red).
The real thing is a bit longer than this.
Once you see the structure, you should be able to figure out how to remove it.
Next, remove the parts marked with blue squares. This is the part for the fixture, and it's easy to remove.
(you'll need a + screwdriver).
It's important to keep the removed parts together so they don't get lost.
2-2. Remove the rubber packing that prevents water from entering the vehicle cabin
For beginners, this might be the most intimidating part.
The rubber packing is responsible for keeping water out of the vehicle's exterior.
But it's hard to work without it, so it's essential to remove it.
Since it's not glued on, it comes off easily by gripping it with the thumb and forefinger of each hand and pulling gently (but don't pull too much).
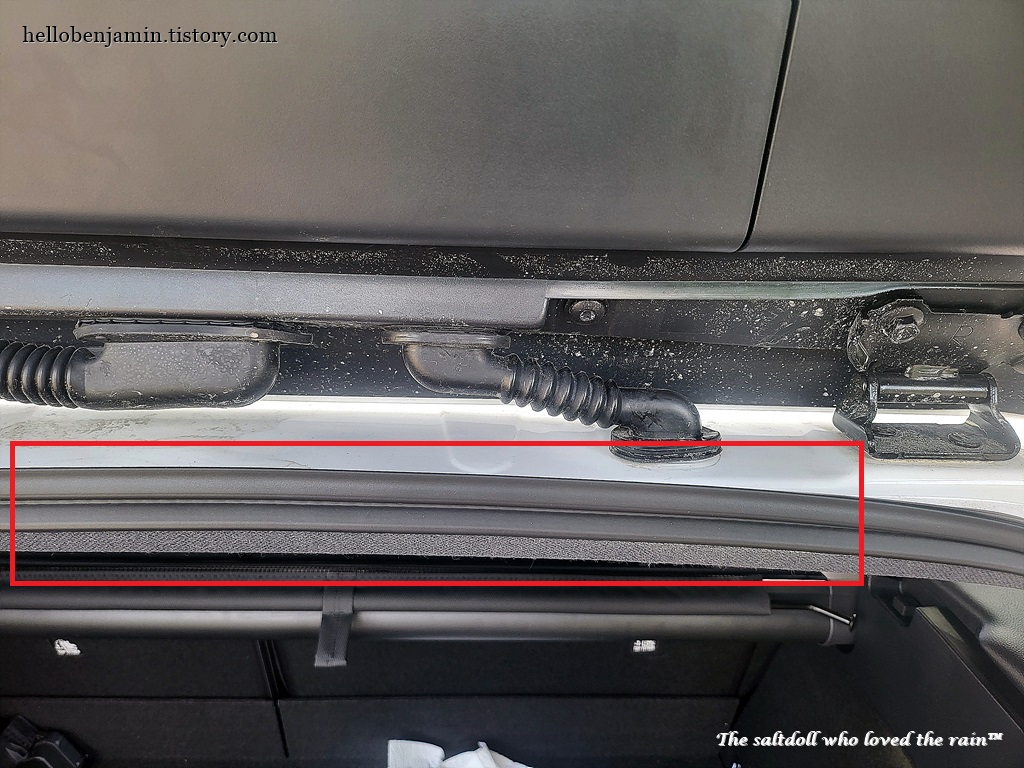
If you remove it, you will see a visible gap between the metal parts of the car and the interior finish.
2-3. Glue the rear camera to the rear window.
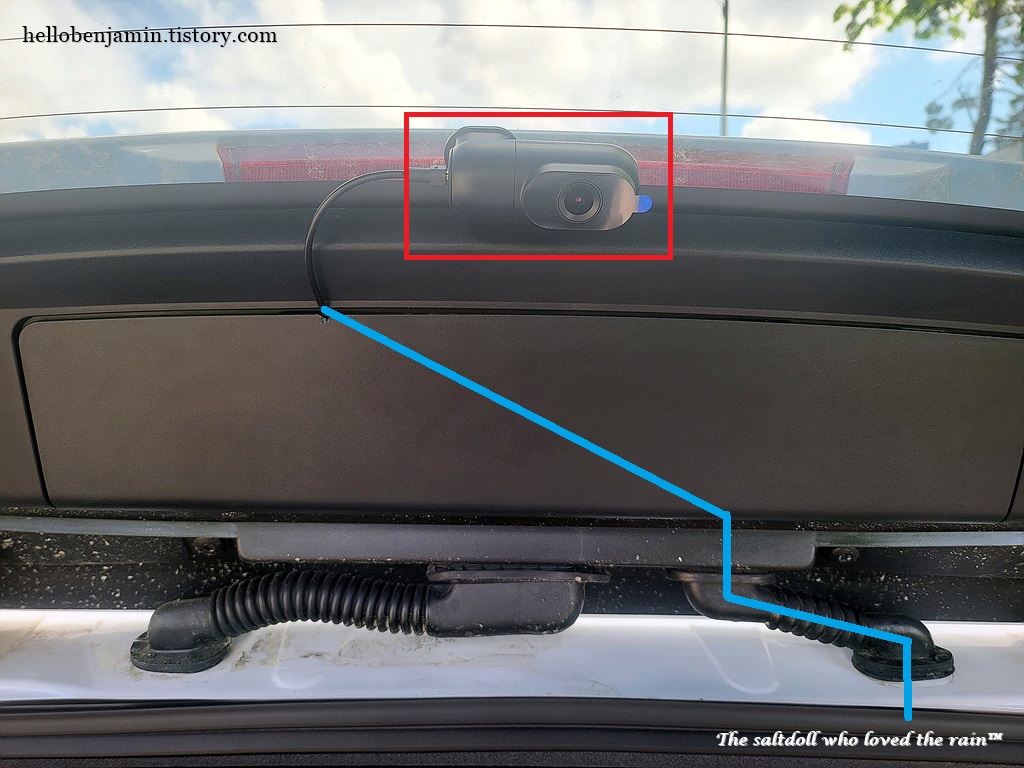
I accidentally glued the rear camera backward.

It was already fully glued to the rear window, so I decided to leave it.
If you install the rear camera backward like I did, you can turn on the option to flip the rear camera in the preferences of Viofo's app.
First, remove the plastic plate in the center. With the rear door open as shown in the photo, pry from top to bottom and the plastic door will open without difficulty.
The plastic cover will not come off completely as it is attached to the wires connected to the brake lights.
Connect the camera wires as shown in the photo.
I connected it to the right side because the rubber tube was shorter than the other.
You can either run the wires through the left rubber tube, or you can run the wires through the right rubber tube.
However, when you close the plastic cover, it doesn't close well due to the thickness of the wires connected to the rear camera.
If you use a knife to make a small cut to create a groove, the plastic cover will close well afterward.
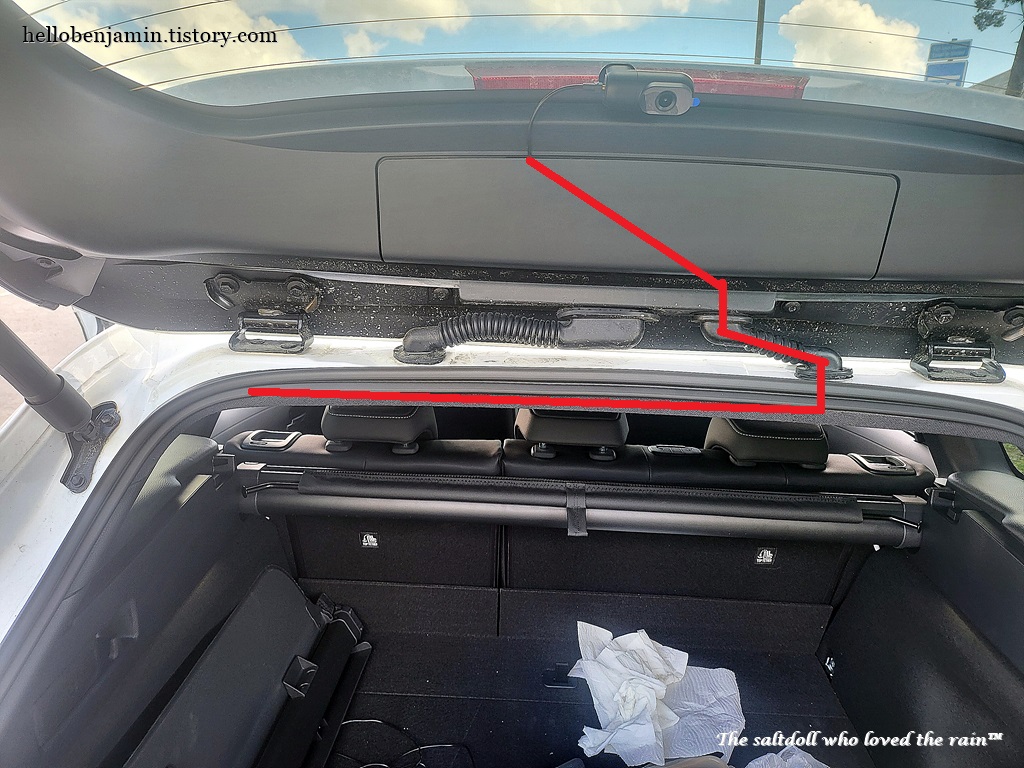
Connect the wires as shown in the photo.
Now this might be the hardest part.
I've marked it with a red line, but it can be a bit esoteric.
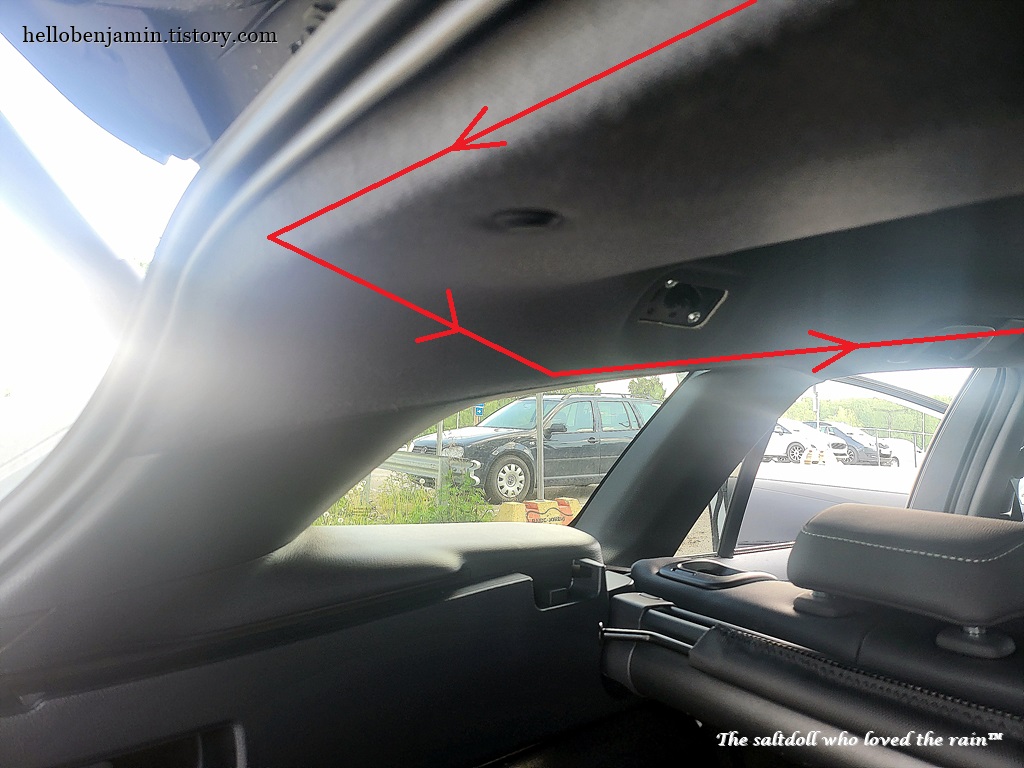
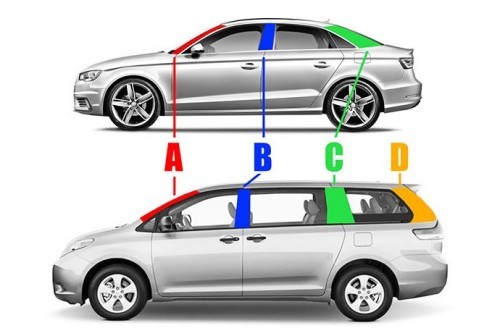
You need to move the wires that came down from above to the left and then cross the D-pillar.
You'll need to prepare a coat hanger with thick wire for this. Cut this, tape the ends of the wires together, and slide it in to easily move the wires to the desired location.
It's hard to describe in words, but you have to drag the wires up to the driver's seat.
It's kind of tricky and there's no way to explain it, sorry.
Since there are airbags in the rear and driver's seat, the wires need to be tucked away so they don't interfere with the opening of the airbags.
You also need to be careful not to pull too hard on the interior finish, as this will prevent it from being restored.
Once the wires are up to the rear seat, it's easy from there.
This time, open the door and pull the rubber packing on top and it will come out. Replace the rubber packing that was pulled out, sandwiching the wires between the metal exterior and the upholstery.
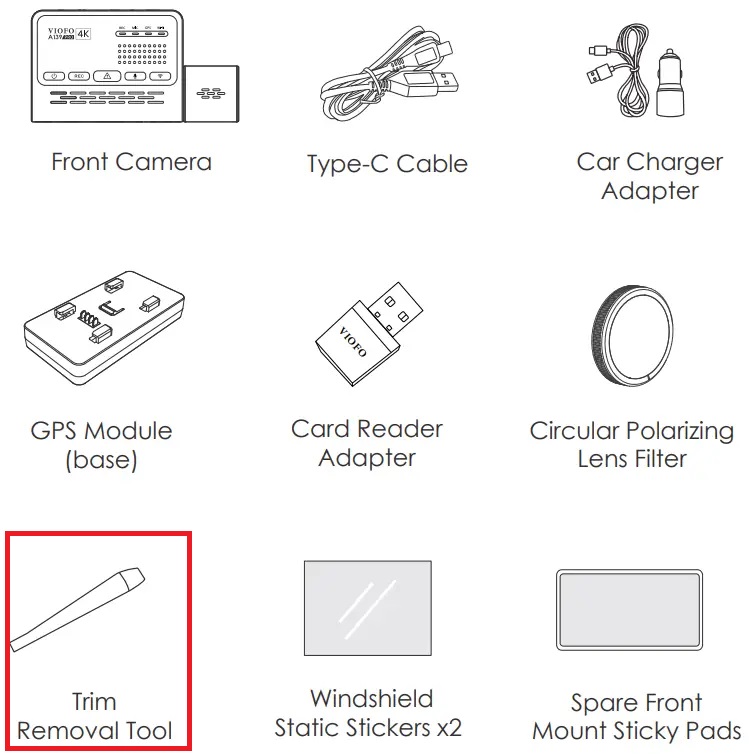
Use the trim removal tool that came with your dashcam to push the wires through.
See these videos for reference.
The reason I'm writing this blog post is for Toyota Corolla Touring Sport users.
I regret that I didn't take any photos while I was working on it.
Once you've dragged the wires up to the driver's seat, you're almost done.
Tuck the wires in nicely to make it look neat.

Once all the wires are connected, it's important to keep them neat and organized.
I installed the front camera (the main unit) slightly to the right so that it doesn't interfere with driving.
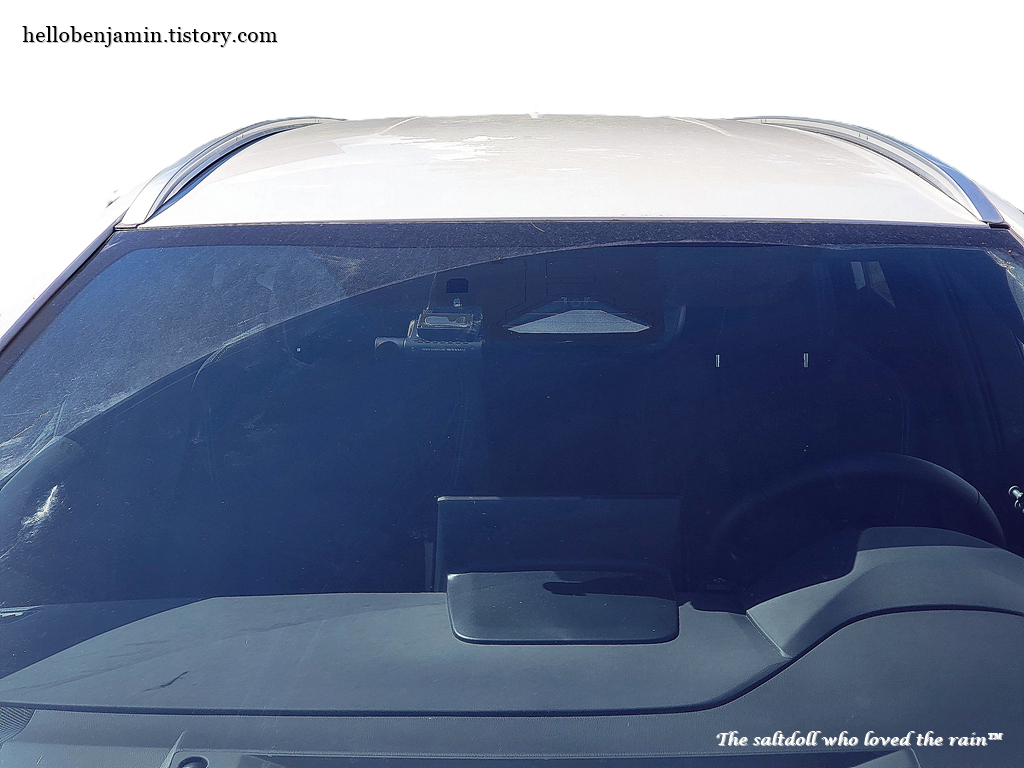
In my opinion, this is probably the most optimal spot.
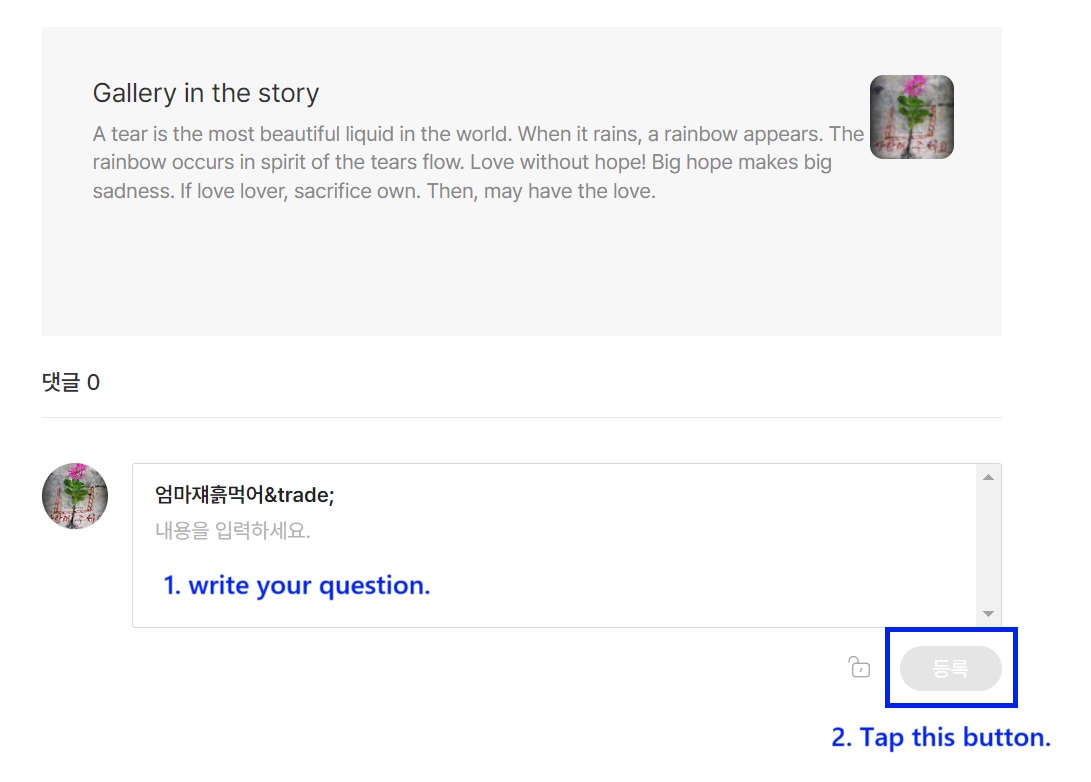
If you have any questions, you can ask them in the comments below.
Now that I'm writing this, I'm realizing why I'm writing it.
I don't delete it, because it might be helpful to someone anyway.
Thank you.
'No title' 카테고리의 다른 글
| 운현궁 전통혼례 홀기 (한글, English) (0) | 2024.08.01 |
|---|---|
| How can 'Creative Stage 360' connect to a computer and get it up and running with Dolby Atmos? (1) | 2024.07.06 |
| Toyota Corolla Touring Sports 2023 Interior Fuse Box map (0) | 2023.06.12 |
| 염전과 서해 (Salt Fields and the West Coast) (0) | 2022.09.13 |
| 마음 (Heart) (0) | 2022.09.09 |